ANALOGUE TENSIO, YOU SAY?
That said and the wheel building routine becomes time consuming as it requires moderate workshop preparation of all the tech and additional truing/tensioning steps meanwhile. The problem arises also from the inconvenience of touch screen displays and their general requirement of cleanliness of the work environment. Consequently, a wheel builder may lose one main thing – his focus on the wheel itself. That is why most regular wheel building workspaces don’t use software solutions like wheel tension apps when truing and tensioning budget wheels. It simply takes too much time.
But it shouldn’t be that way. At least not to that degree. Working with a web-based wheel building tool, specifically tension app, shouldn’t be a rocket science. Nor should it only be designed for digital/wireless spoke tension meters.
Therefore, the main goal of this article is to show how you can notably speed up the spoke tensioning workflow using a traditional, analogue spoke tension meter in combination with the SpokeCalc Wheel Tension app. To achieve that, we shall add another, actually quite budget tech gadget to the table - an external keypad. Combining this little accessory with one of the three readings formatting type settings of the app will help a wheel builder to an even smoother spoke tensioning workflow.
Note: The basic workflow and some of presented features in this article also apply to the newly released Unior Wheel Tension App, which was made and powered by Spokecalc for their 1752/2 spoke tension meter. So, if you are an Unior 1752/2 user, you are welcome to continue reading.
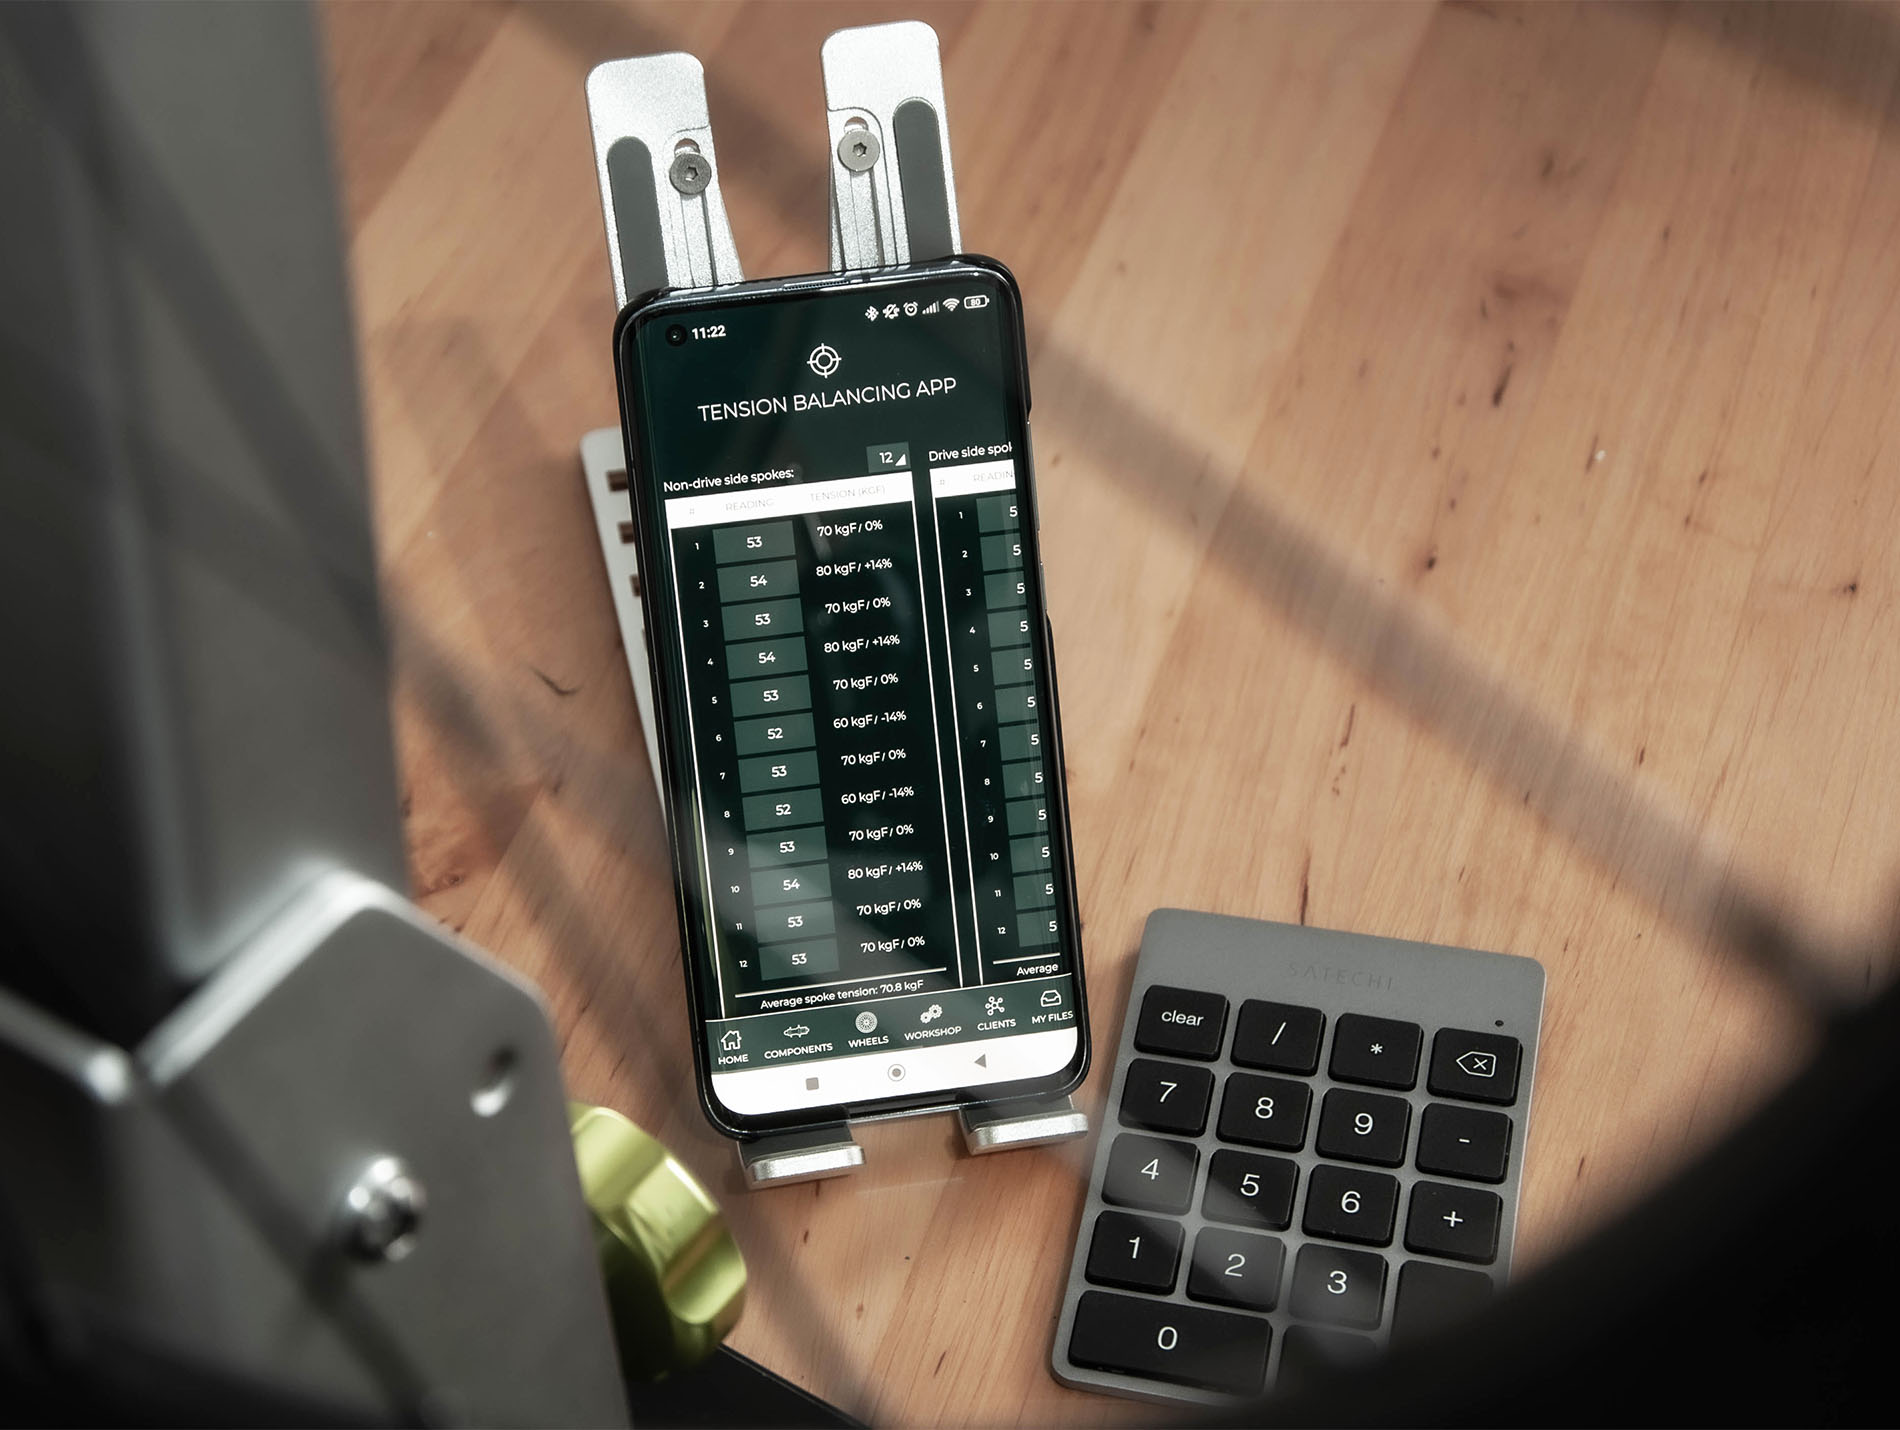
Assuming you use a small laptop, a convenient Android/iOS tablet or a regular mobile device to power the SpokeCalc’s Tension app, you probably encountered this matter with your analogue tension meter before, right? So, how to smoothen your data transmission from your tension meter scale to the tension app? The most obvious is the “touch screen” of mobile devices that is not particularly practical in such workspace environment or there is laptop keyboard that is inconveniently out of reach.
But let’s now look how the appropriate tech setup in combination with the app’s settings can serve you at its best.
GETTING EXTERNAL KEYBOARD
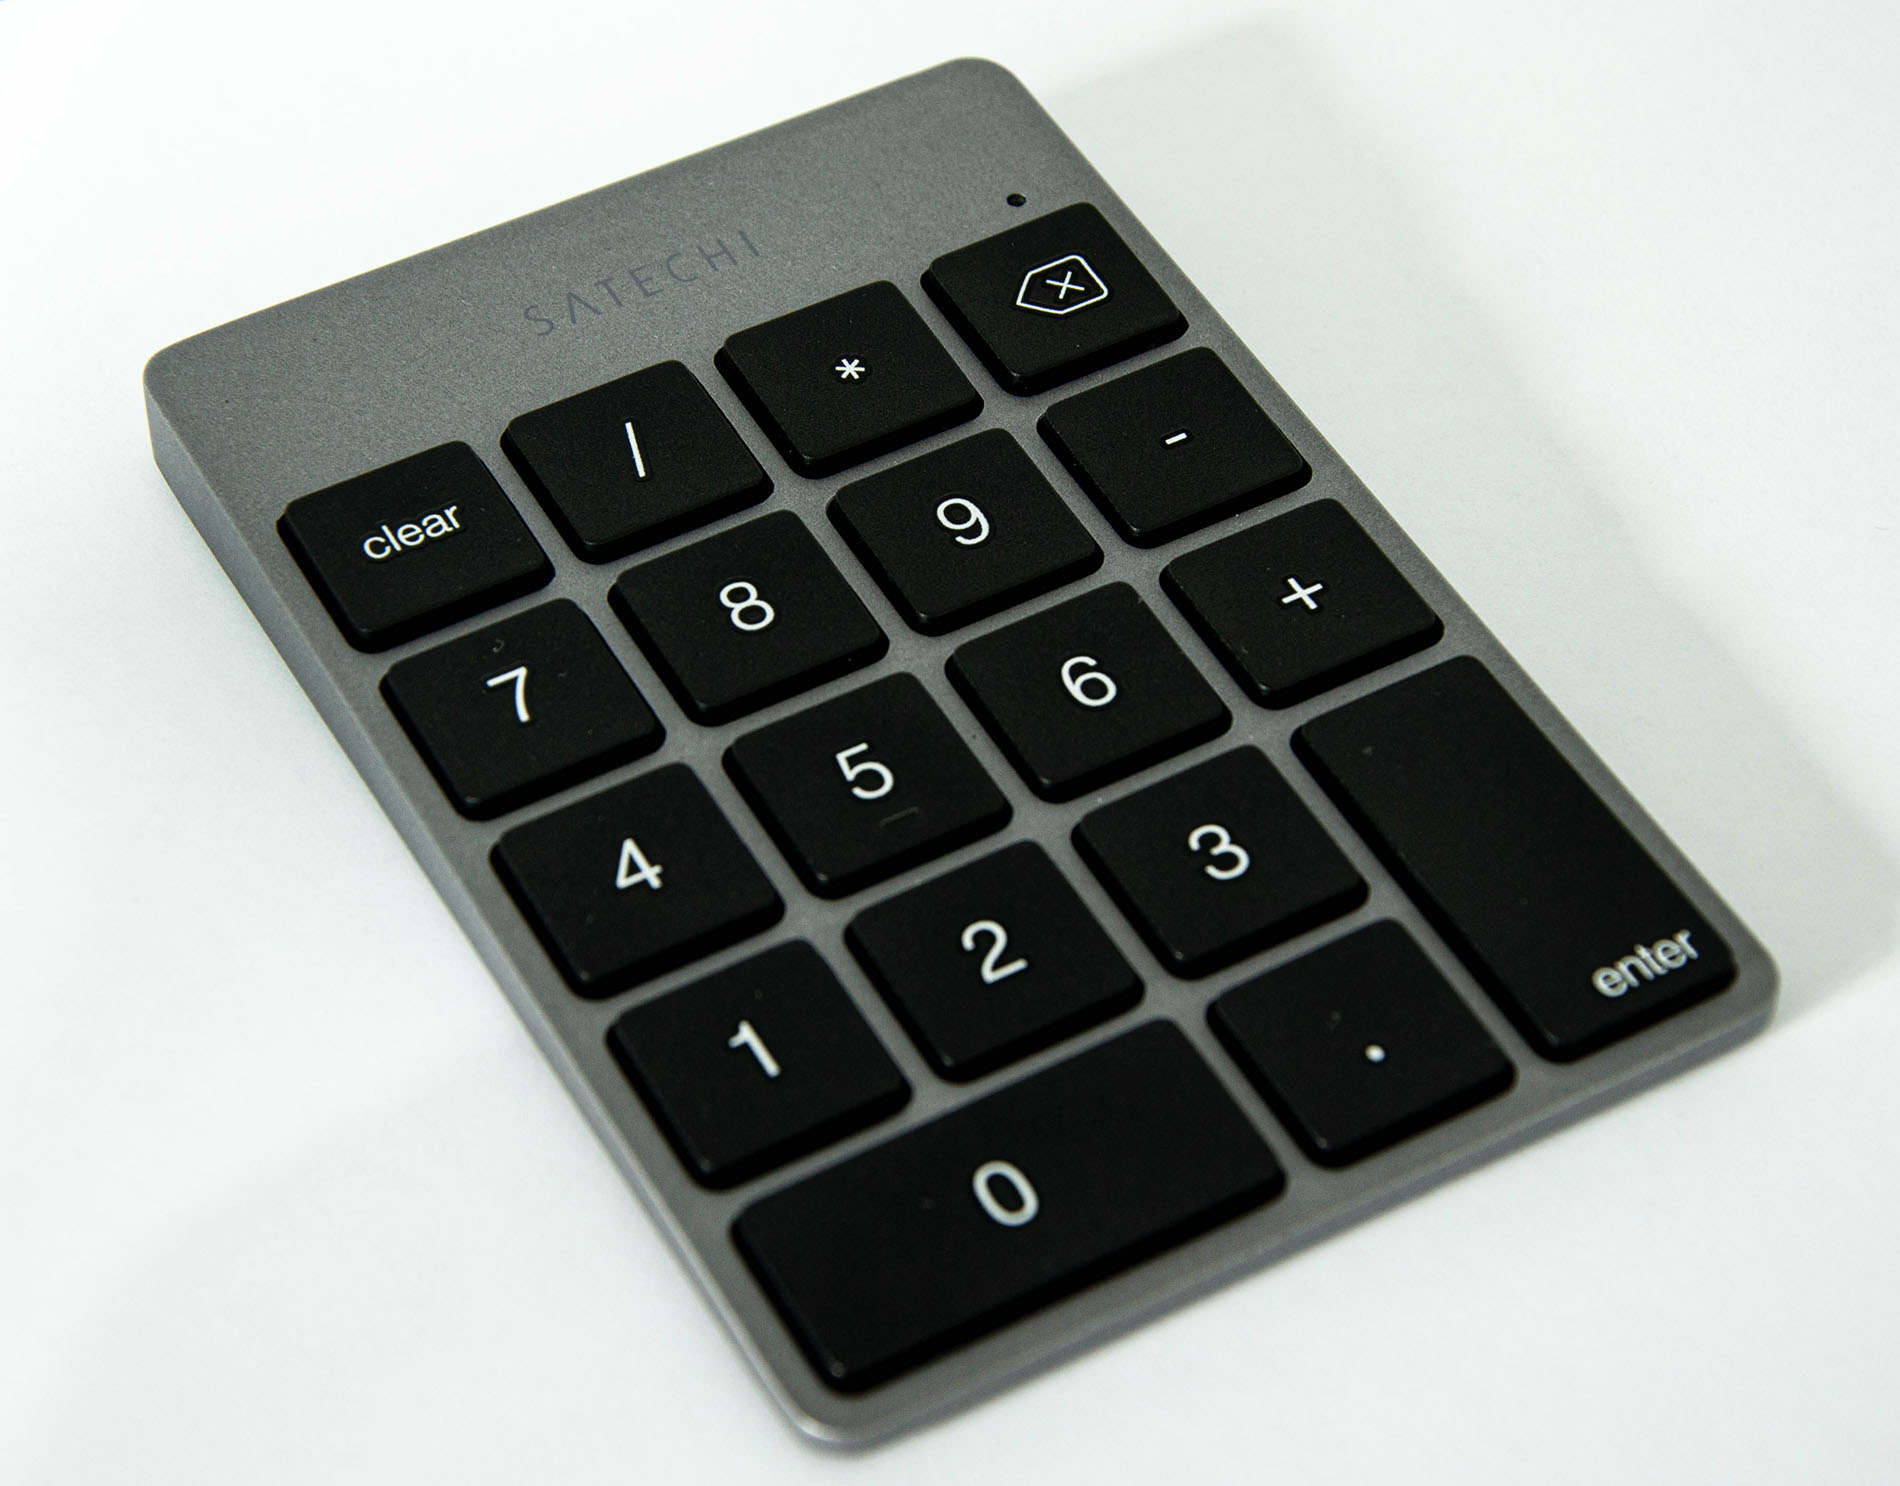
For this article I got myself a slim, stylish wireless keypad from Satechi that comes in premium space grey finish, is compact enough and cleverly provides a chargeable internal battery. Since it is a pure numpad (numbers only keypad), because of its compactness, it turned out to be the perfect little accessory to complete my wheel building workspace.
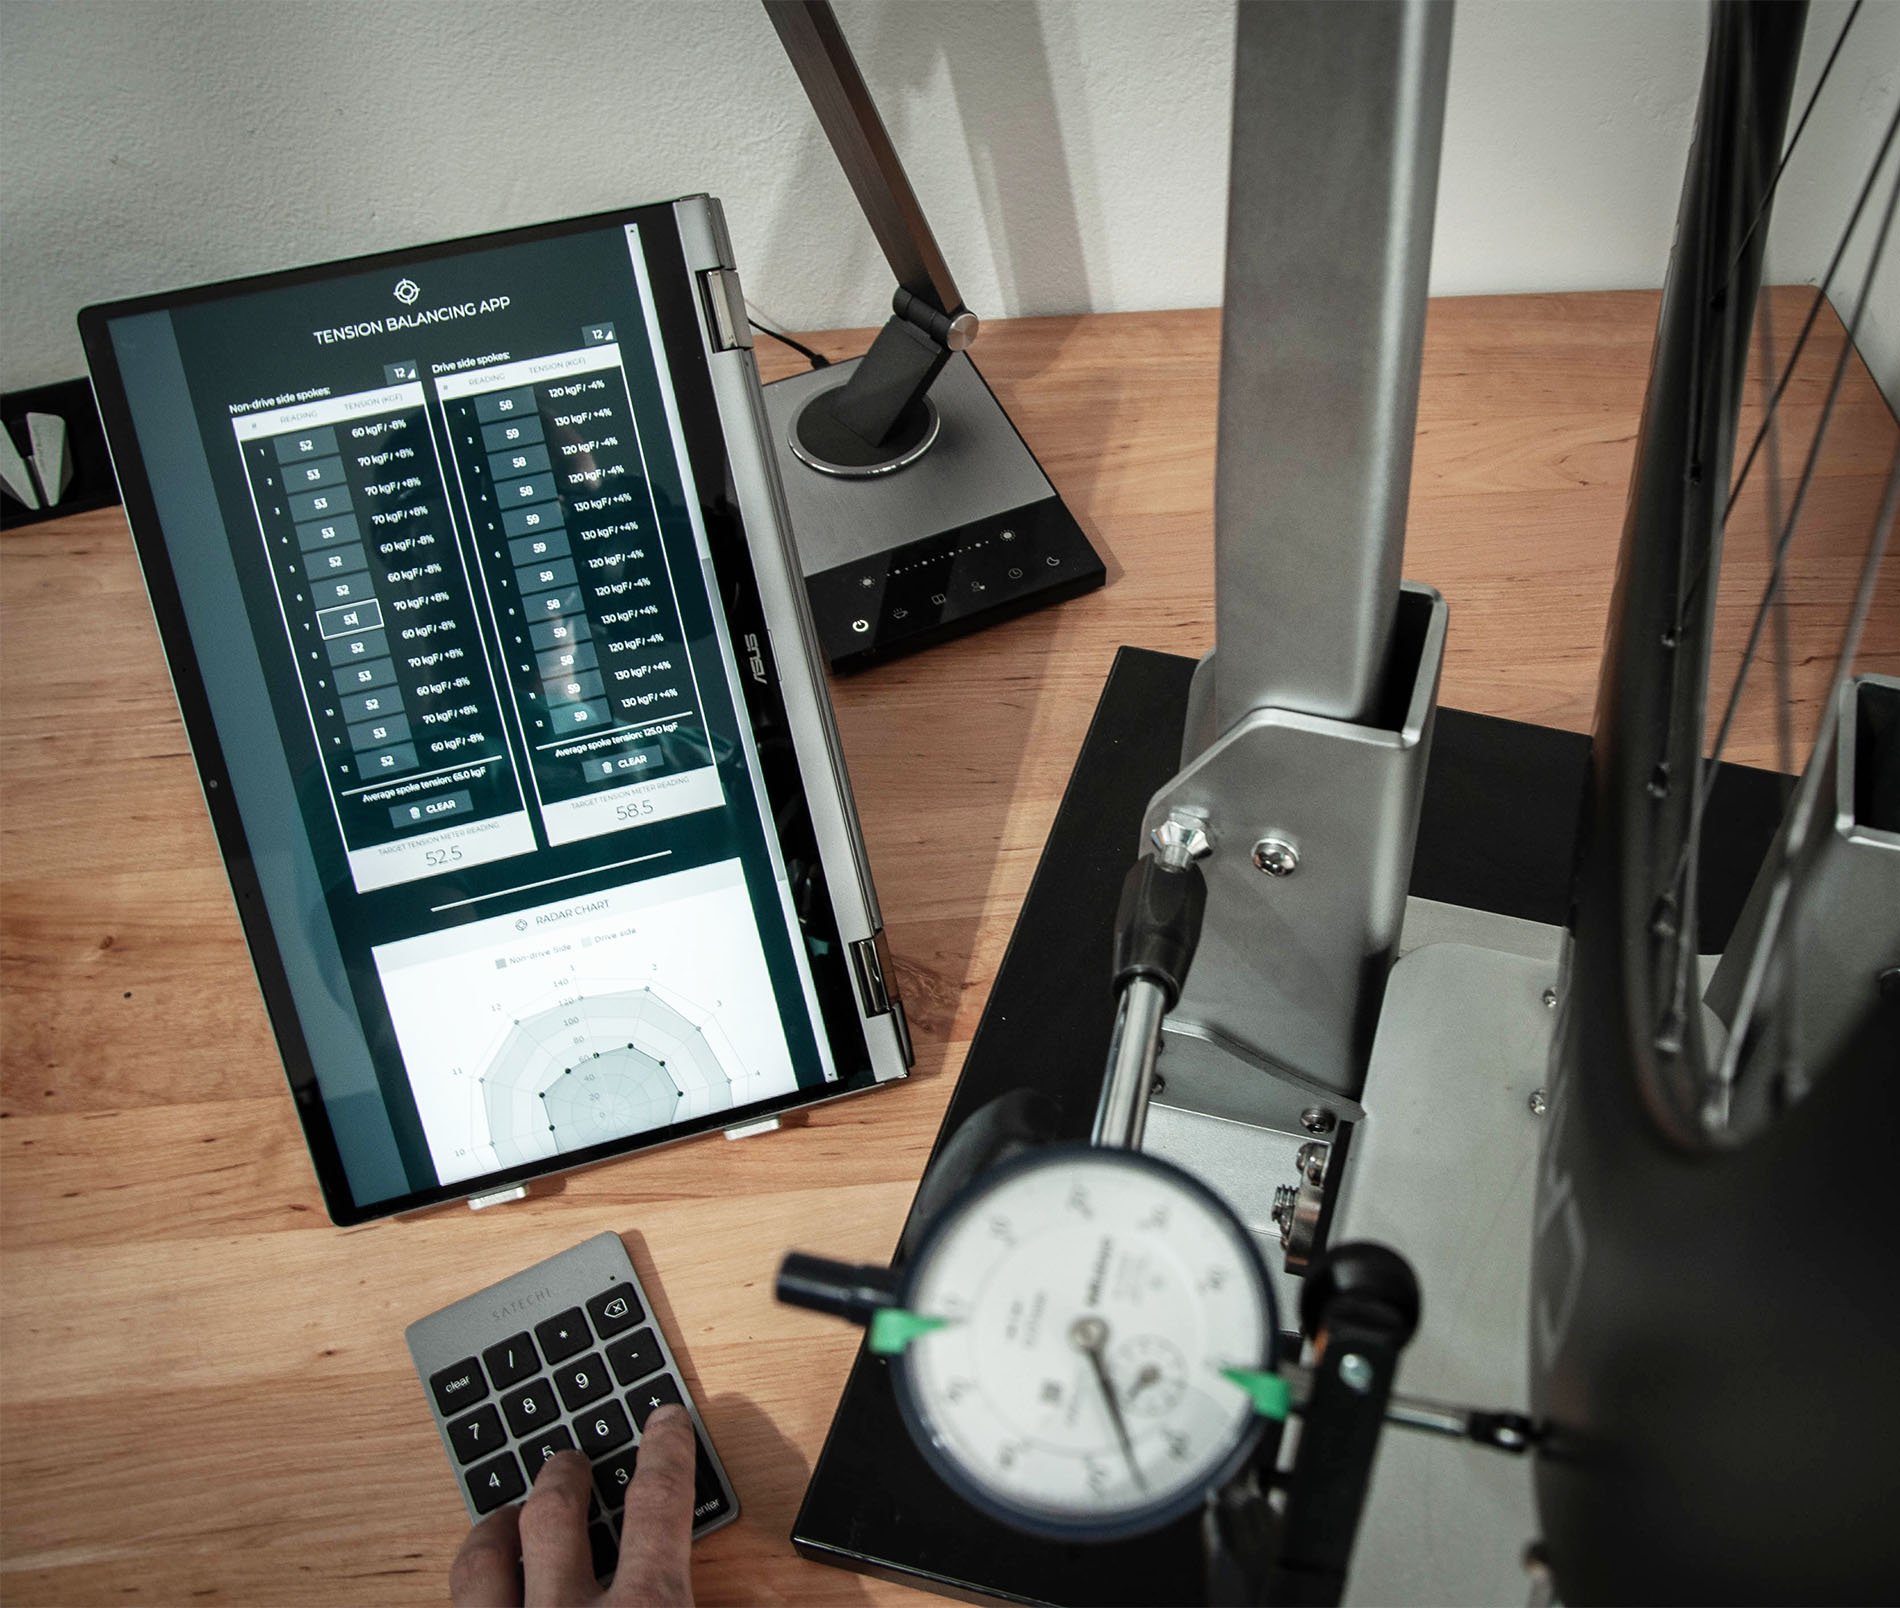
While the benefit of such wireless keypads is more notable when having to work with touch screen devices as they almost completely eliminate your contact with the device’s display, it goes hand in hand also for working with laptops, where an external wireless numpad will extend your existing keyboard and let you put the laptop safely away from dirt or mount it on a stand for a better visibility.
Since keys on an external keypad are mechanical and also quite large, they give you a good feel of what you type even if you are not completely focused. That allows you to operate your spoke tension meter with one hand, and let the other hand type down the results. Convenient, right?
But wait, there’s more to it. Combining a wireless numpad with the right tension app formatting type settings can actually make writing down results lightning fast. Auto set decimal places, navigate with enter key or completely let the app know when to move to the next field, the choice is yours. Read further to learn some useful tricks.
TENSION APP SETTINGS
By default, the SpokeCalc Wheel Tension App doesn’t auto format your readings in any way. What you write inside the input field is what you get and your tension readings are supposed to be integers. However, in the Settings accordion, a user can select one or more formatting types of inputs. Specifically, there are three options available which you can also combine. Let’s see how each setting can help your workflow and be compatible with your spoke tension meter.
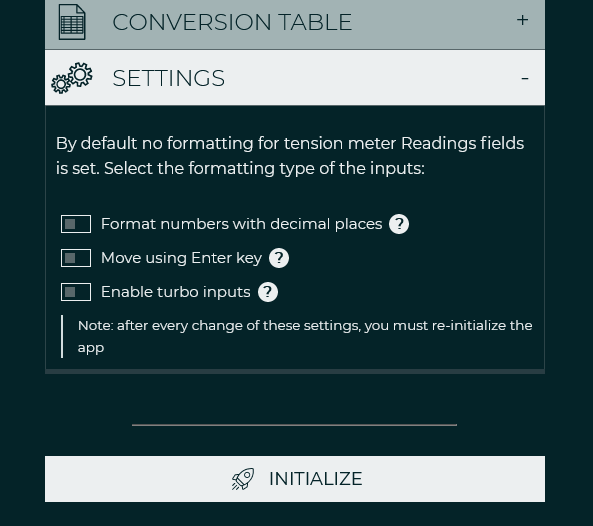
Setting no.1: »Format numbers with decimal places«
Most basic, budget friendly analogue tension meters’ scales only operate with integers. On the other hand, there is this other breed, spoke tension meters with a high accuracy, “clock like” gauge - a dial indicator that scales to 0.01 mm. Having to manually press commas and writing decimal places on all of the readings consequently becomes time consuming. In such case this feature comes in really handy.
With this feature turned ON, the spoke tension meter Readings field number format is automatically set to two decimal places (e.g. x.xx). All the decimal places will be set automatically as numbers switch places from right to left when you enter them. Put simply, suppose you enter 1 then 2 and in the end 3, the result should be the value 1.23 respectively.
Setting no.2: »Move using Enter key«
Navigation between spoke tension readings inputs in sequence is the most intuitive by using the Enter key and this setting offers exactly that. When you are done with one spoke tension reading field, simply press the Enter key to switch your focus to the next one.
Be aware that using only this setting doesn’t automatically format you decimal places of your tension meter readings. If you are working with a more precise tension meter scale gauge and you are in need for two decimal places, combine this setting with the setting that was introduced above.
Note: In the Unior Wheel Tension App, this formatting type is set by default. So, whenever a user presses the Enter key, the focus will move from one readings field to another input.
Setting no.3: »Turbo inputs«
Turbo inputs are the most progressive formatting way of your tension meter readings. Right from the start, this setting requires a user to define a preferred (maximum number allowed) characters number for spoke readings fields via a popup window.
After that condition is met in a single particular input field, the focus will move to the next field automatically. Turbo inputs can be a real time saver. The real beauty of this setting comes from combining it with auto decimal places formatting type (setting no.1). If both settings checkboxes are checked, all decimal places will be automatically placed allowing you only to put attention on numbers alone. And once the character count is achieved, you will be put into the following readings field.
Note: In this setting, a user can also navigate to the next input field by pressing the ENTER key. In case of having to correct entered values or typing lesser number of characters then selected in the setting, you can manually switch to the next input field by pressing the enter key.
Final thoughts
Selecting an appropriate tension app readings formatting type setting, and at the same time adding a little tech gadget like external numpad to the table. Use these two tricks and pairing an analogue spoke tension meter with a web-based solution like spoke tension app will become even more intuitive and less time consuming.
But most of all, optimising the tensioning workflow will save your energy and focus that should at all times be on the wheel itself. Hope this tips and tricks article showed you one way to speed up your spoke tensioning workflow.
Happy wheel building!
About author

Aljaž Trenta
Author and founder"As a cycling enthusiast, bike mechanic and self-taught web designer, combining several of my passions and skills to build SpokeCalc was a great fun for me."